The essentials of milk sampling: A step-by-step guide
Milk sampling is a fundamental practice in dairy farming for managing mastitis effectively. By properly collecting and analysing milk samples, we can identify the pathogens, implement targeted treatments, and evaluate the success of preventive measures. This article provides a step-by-step guide to ensure accurate and reliable sampling, helping to maintain udder health and improve milk quality on the farm.
Why is sampling important?
Milk sampling plays a crucial role in managing mastitis on dairy farms. By identifying the pathogen, we can target the appropriate preventive and treatment strategies, helping to improve udder health and productivity.
Regular sampling allows us to monitor the success of control measures over time, ensuring that they are working as intended
What do we need?

Before starting, make sure you have the needed material:
- Freezer packs and insulated box
- 70% alcohol and paper, or alcohol tower
- Gloves
- Sterile tubes
- Sample racks
How to proceed?
The first step is to select the best location for sampling. The most recommended places for sampling are the milking parlour, the robot or the treatment box, as they are a controlled and clean environment.
1. Identify each tube with the following details at least: Date, farm, cow, quarter
2. Begin by discarding a few strips of milk. This ensures that any contaminants in the initial flow do not affect the sample.
3. Dip each quarter of the udder in a disinfectant solution.

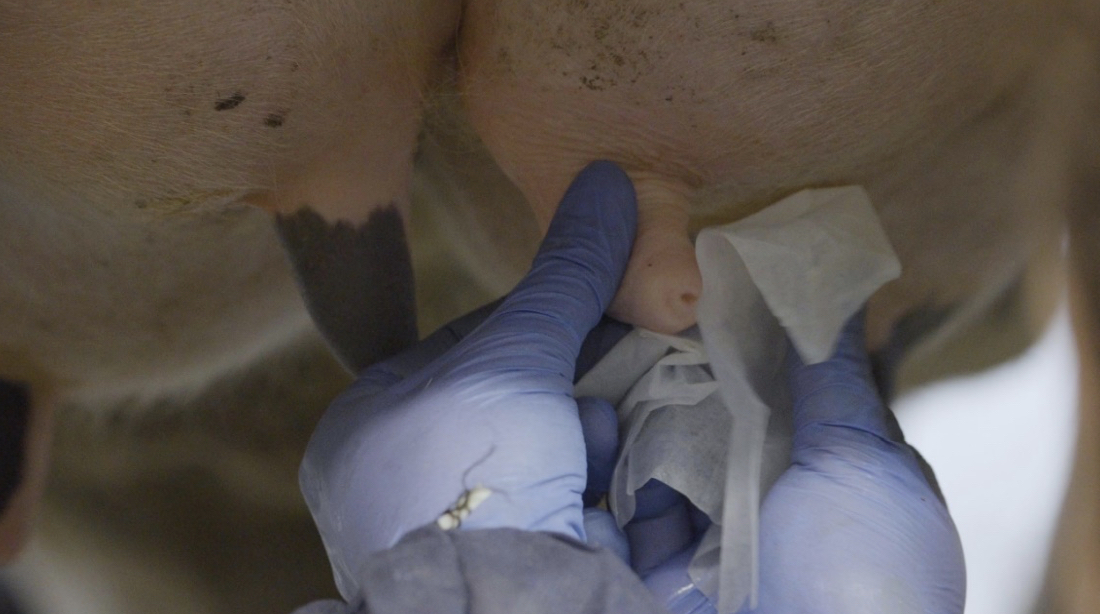
4. Use an individual towel to dry the teats thoroughly, minimizing cross-contamination. Scrub teats with the alcohol towel:
- Use each towel only once.
- Avoid contact with dirty parts of the cow, such as the tail, feet, or legs.
5. Sample collection
a) Individual samples
- Hold the tube at a 45º angle while collecting the sample.
- Keep the teat and tube lip from making contact.
- Avoid overfilling the tube and close it immediately after collecting.
- Close the tube immediately.
b) Composite samples
- Start with the closest teats and work towards the farthest ones.
- Collect approximately 2 ml from each quarter into a single tube.

6. If cows are not going to be milked, dip the teats after sampling
7. Place samples in an insulated container with freezer packs to maintain the proper temperature until they are tested.
Conclusions
By following these steps, we can ensure that the samples are accurate and reliable for analysis, providing an accurate representation of the cow’s health.
This approach supports more effective mastitis prevention and control and contributes to a healthier herd overall.